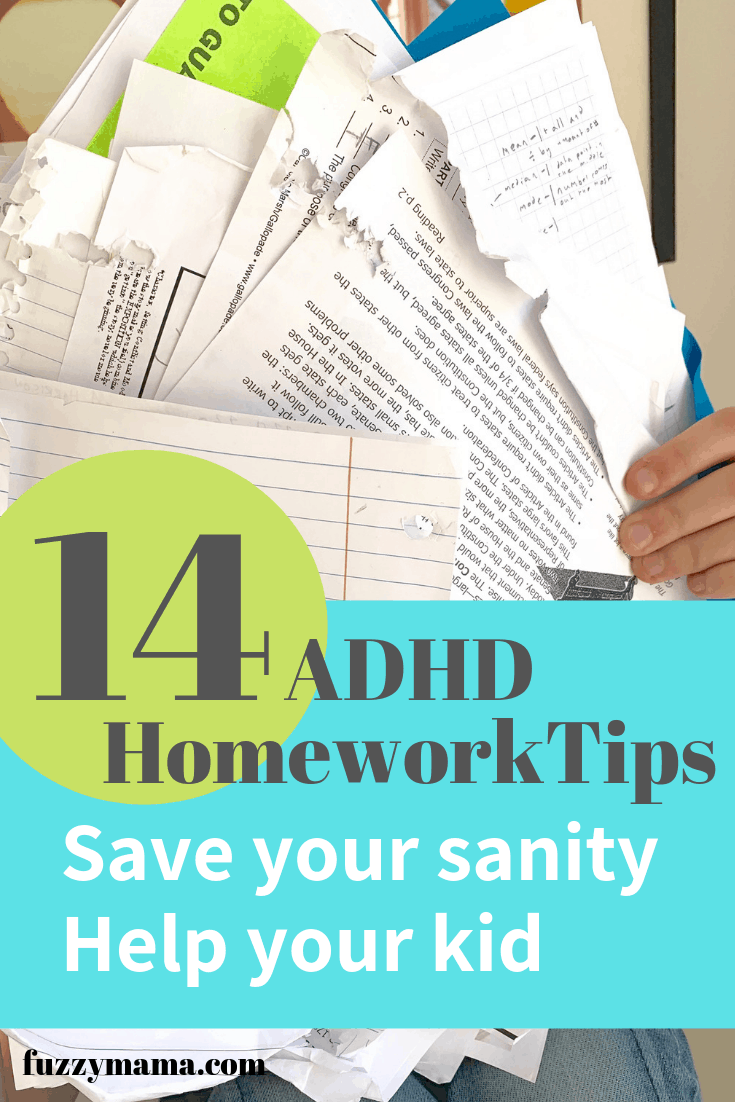
Organizing Our Tinker Space
We needed to shed some new light onto organizing our tinker space. My boys are getting older and their interests are changing. The beginning of the school year is a perfect time to tackle this. Read on for a peek into what we did or just DOWNLOAD MY FREE PDF in the gray box below and get started with your own space!
[themify_box style=”flat” color=”gray”][mc4wp_form id=”5567″][/themify_box]
We’ve had many versions of a creative space over the years. My kids have always been interested in drawing, building, and experimenting because they have always had access to many kinds of interesting materials.
Before we tackled revamping our space, I spent some time thinking this project thru, keeping a few things in mind:
This would be a team effort! The space is, after all, for my kids, so they would have lots of input. My boys generated a list of what they’d like in the space, thinking of items we already had and what they’d like to add. We were inspired by some great ideas from here and the Steam Kids Facebook page.
We definitely have an emphasis on electronics, book making, and 3-D sculpture(see our list below). My youngest is into making armor for his mini wooden artist’s mannequin, so tinfoil and felt scraps were on the top of his list. My oldest still loves to make books and draw, so lots of different sketching materials and book making supplies must be easily in reach. They both love to tinker with a bredboard and led’s, so those had to be included, as well.
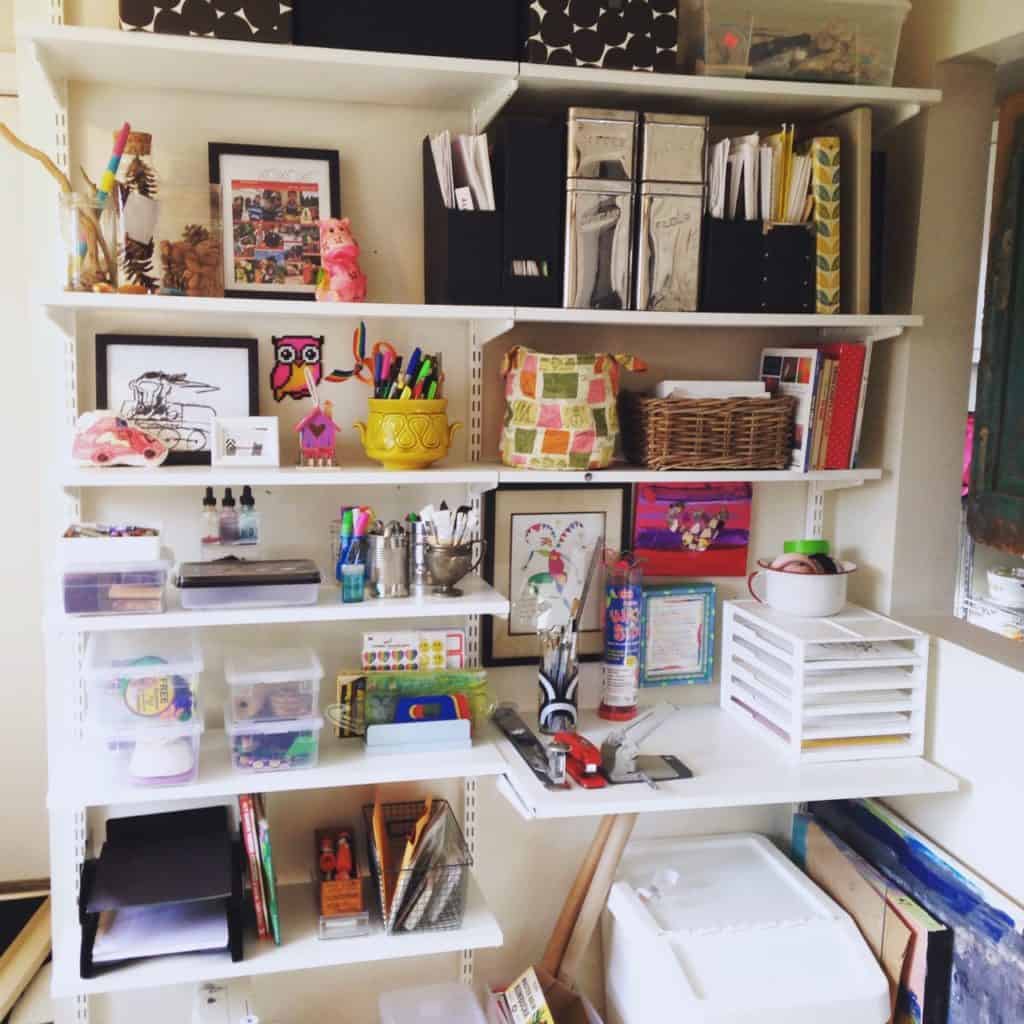
I used the Elfa shelves we already had and just added a few new ones. The laundry room shelves had become sort of a catch all and I knew they could be culled with some effort from me. Their proximity to the kitchen was key…most of our activities take place on the kitchen table. I bought 3 new shelves to add to the existing set up.
I wanted to make sure we had space to display some of my boys’ creations. I adore seeing their art work and kept nearly two whole shelves to rotate their projects.
The space had to be easy to use, and something the boys could keep tidy themselves. I did purchase some clear bins from IKEA so it would be easy to find materials and put them back. I did not want the shelves to be too full.(Not sure if I’ve accomplished that!) We will surely modify things as we go once we see what gets used the most.
Here is a list of what we have so far:
In covered boxes on top shelves: Glue gun, clothes pins, felting materials, extra index cards, blank journals, more fabric scraps.
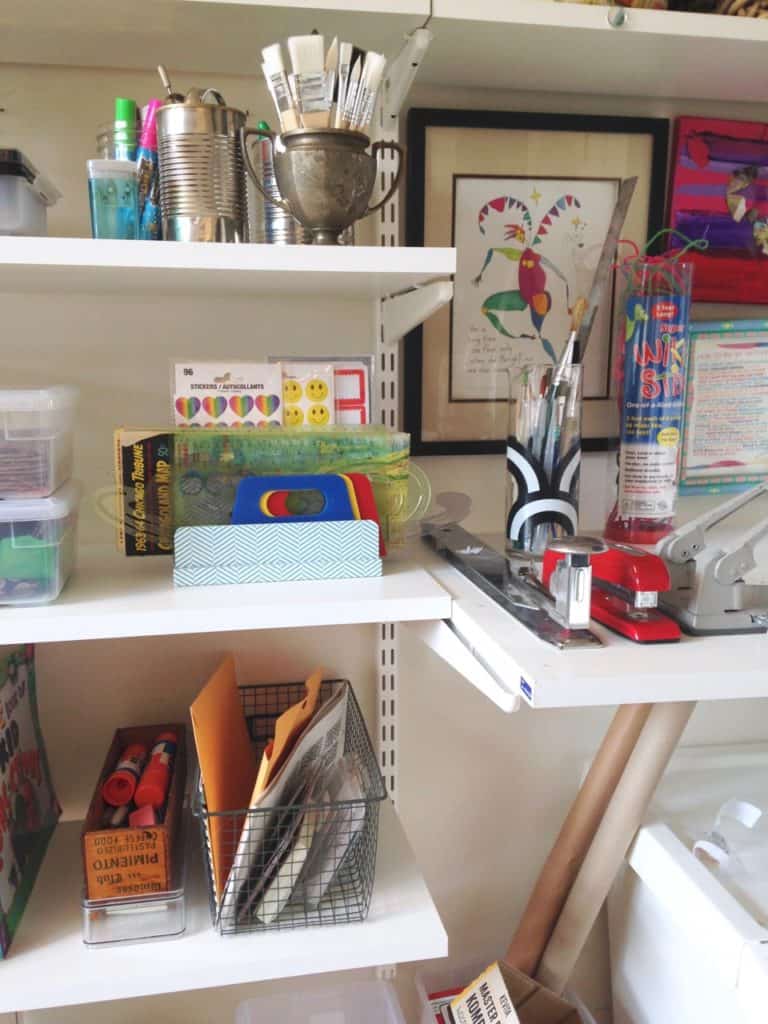
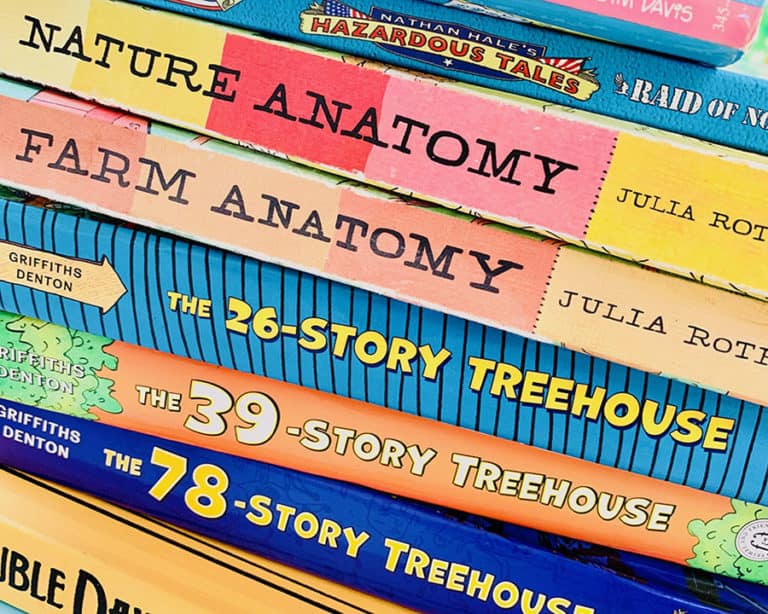
Working down the left side: Pine cones and sticks, mustard ceramic pot (filled with markers, colored pencils, gelly roll pens, pinking shears, and scissors), stamps and ink pad, pastels and water color crayons, liquid water colors in droppers, beeswax crayons, paints, chalk markers, fabric markers, compass, tweezers, magnifying glass, pencil sharpener, brushes, brass brads, pipe cleaners, straws, string, wire, fabric scraps, paper punches, stickers, old maps, architects instruments, paint scrapers, colored paper, white tag board, books for inspiration, bredboard and led’s,batteries, glue sticks, paper scraps.
Right side: paint brushes, paint droppers, ruler, long arm stapler, regular stapler, two hole punch, shrink film, copy paper, lined paper, colored paper, bowl of tape
Very bottom, not fully pictured: rubber bands, play dough, toothpicks, tin foil, recyclables, balsa wood, popsicle sticks, sewing machine.
We have a few items on order: copper tape, toggle switches, and more wire
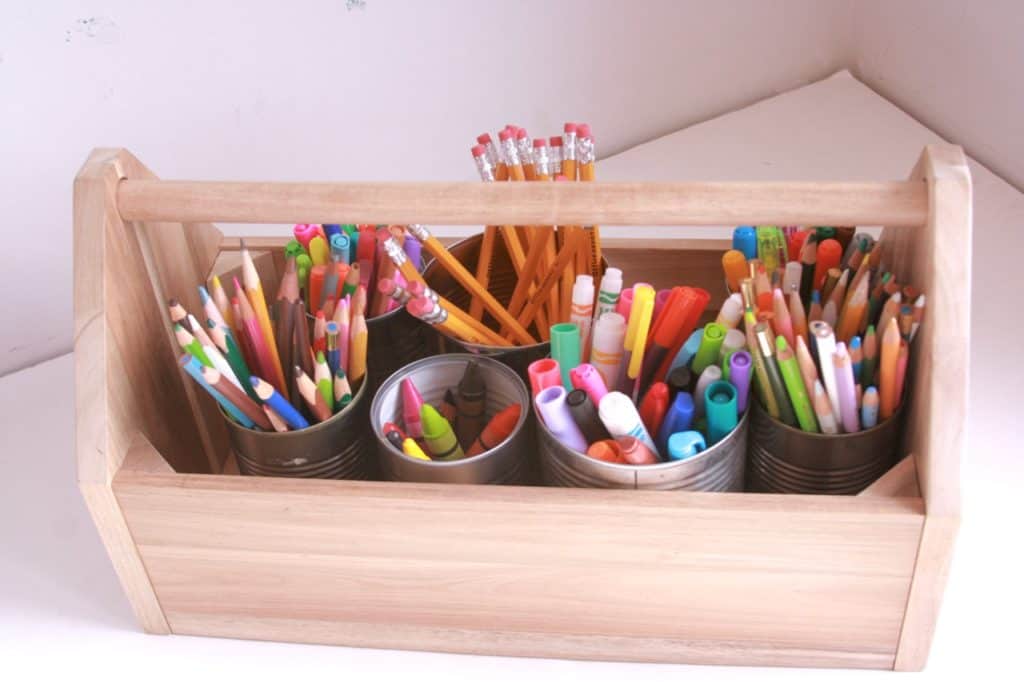
If it seems a little light on the drawing materials it’s because we have a box of markers and pencils sitting on the kitchen table at all times. This is used constantly, by all of us, really! The tool box(IKEA!) is easily carried all over the house, as well.
My boys have already been in and out of the space all week long. I love to see them choosing materials and playing around with them. The bredboard and led’s are the favorite so far, as well as the recyclables for making life-sized armor.
Don’t forget to download my free guide for setting up your own tinker space. Just go HERE. The pdf has a ton more super useful ideas and a HUGE list of materials to inspire you.
If you have a tinker space for your kids, I’d love to hear what the most used materials have been…and please do not hesitate to ask questions… I will happily share my resources with you, if you need help finding anything.

Wow!
A lot of stuff in a very organized space.
Love it!